
Installing a solar light is much easier than a traditional grid light. It does not require wiring to a far away power station hence; you can place it anywhere you feel like illuminating an area, even in remote areas. This is a hassle free, cost effective and environmental friendly lighting system running on solar energy.
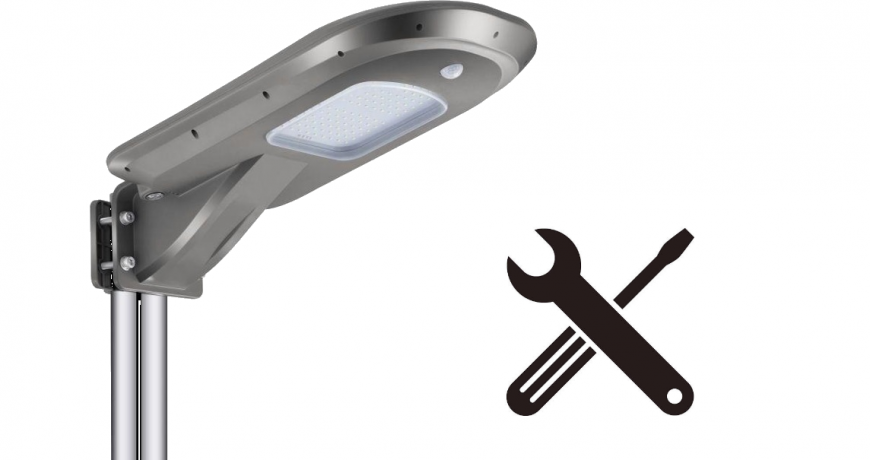
To install a solar light you will need the following tools. A monkey wrench, 20m start-up hoist and an inner hexagon wrench.
Once you have gathered the following tools surround the area with guard lines where you have planned to install the lights. Read the installation manual properly before starting the process. You must take care of the circuit diagrams and the safety measures mentioned in the manual. Finally check that you have the complete street light kit with the following parts:
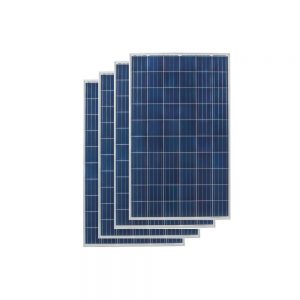
- Solar Panel
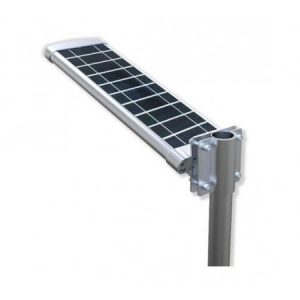
- All in One Light Fixture
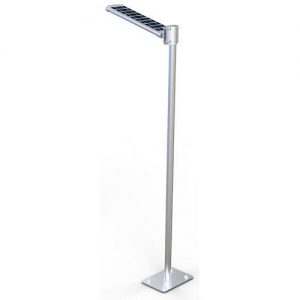
- Lamp Pole
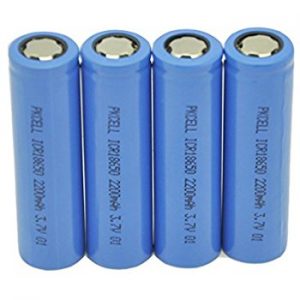
- Battery
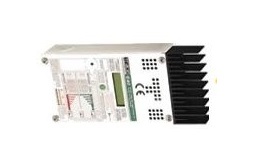
- Controller
Procedure for installing the solar street light :
Installation of the foundation- Choose a level and flat ground without any inclination. Using the four given screws, secure the pole to the ground. Secure the pole with concrete as this will serve as the foundation of your street lamp.
Setting up the street lamp- This process includes these steps to be followed.
- First, with the support of a bench lift the lamp pole off the ground for 1 meter.
- Place the All in One Light Fixture on the ground, with the back part facing upwards, screw the clamp to the pole.
- To ensure that the lamp pole is upright on the bottom plate use a crane and fix it with bolts.
- Once everything is in place, check whether the solar street light is working as expected.
- Once it starts working you can be rest assured that you have successfully installed the solar street light.